Design and research
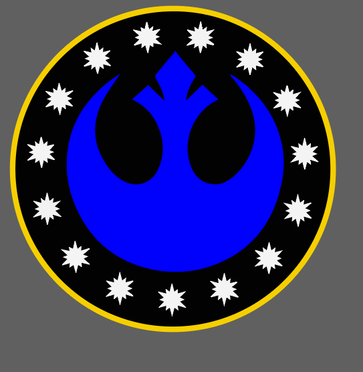
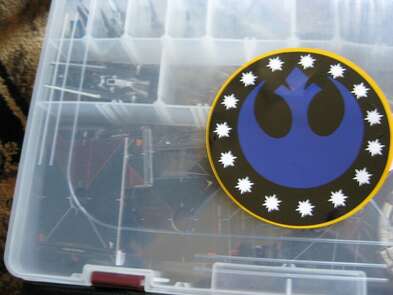
For my vinyl decal, I decided that I wanted to create the symbol of one of the main Star Wars factions. I had to search through many different symbols, as most of them didn't have 3 or more colors. I finally decided to create the symbol of the New Republic, as it had more that enough colors. It had a yellow outline, black background, a blue Rebel symbol, and white stars surrounding the Rebel symbol. I decided to have the decal be about 4.5 x 4.5 inches. I decided to put my decal on a box that contains ships for a Star Wars board game.
|
|
Creating the decal
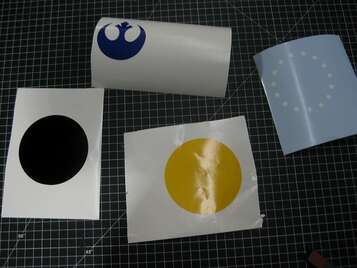
To start my decal, I had to create a new Illustrator file that would be large enough. Once that was done, I put my decal in the file and began breaking up the image. I had to fill in the yellow outline so it would print correctly on the vinyl cutter.
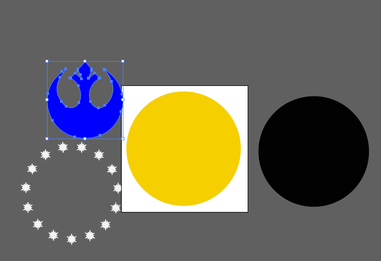
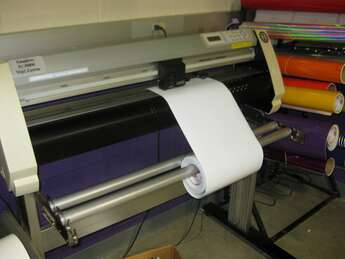
Once I did this, I had to create new art-boards around each part of the decal. I was then ready to cut the decal parts out. I first had to set up the vinyl cutter to condition one so it would cut correctly.
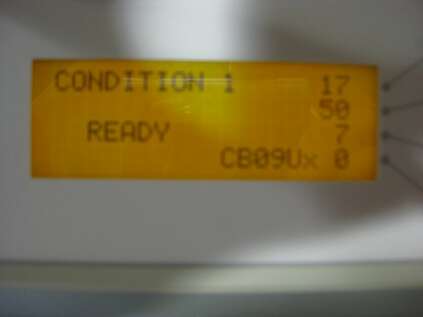
Unfortunately, I had accidentally unplugged the USB cord that connected the computer to the cutter. After a while, it was fixed, but I had lost valuable time. Once that was done I was able to begin cutting out my vinyl parts.

|
|
Once I cut out all four parts, I was ready to assemble my decal. Using transfer tape, I placed all the decal parts on top of each other in the correct order to get the final result.
Assembled decal before application.

Finished decal.
Conclusion
One thing I learned from this rotation was how to use the vinyl cutter. I hadn't used it very much before, and this rotation helped me build my skills. I also learned that I should check to make sure that everything is plugged in.
