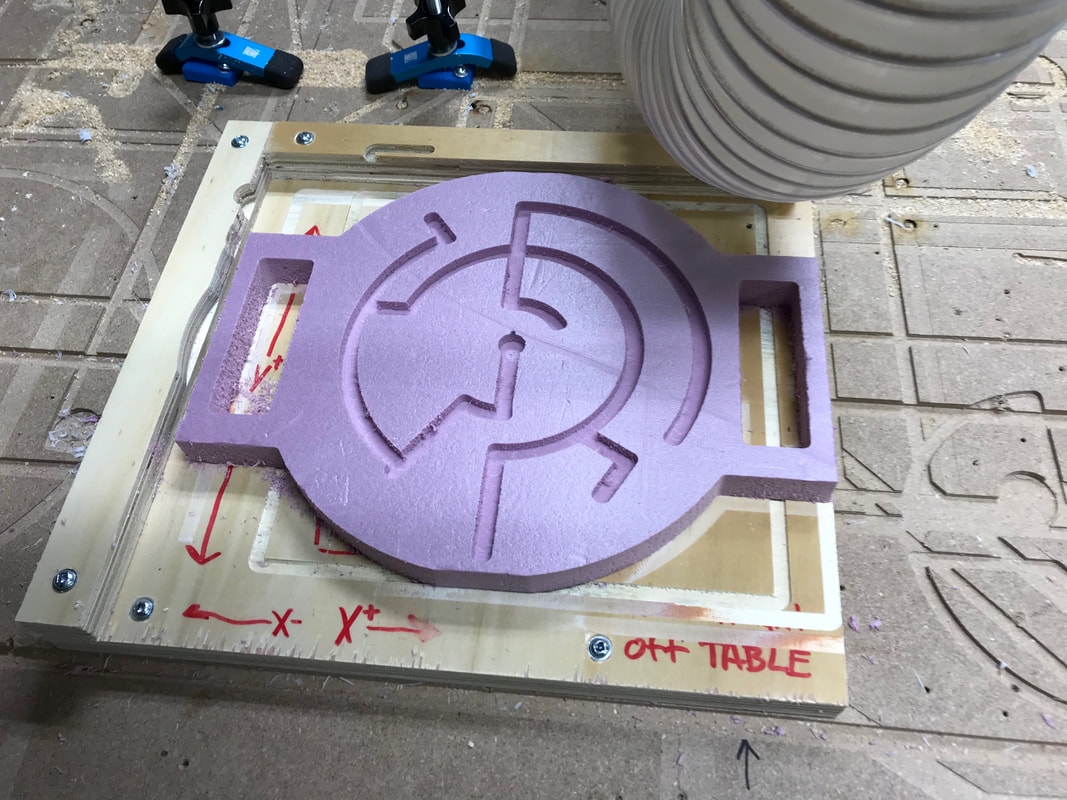
For the router, I had to create a maze that could be no larger than 8.5 x 11 inches. It had to have 5/16 inch wide channels that were .25 inches deep. There also had to be a 3/8 inch border around the paths. I decided to create a circular maze that would have handles.
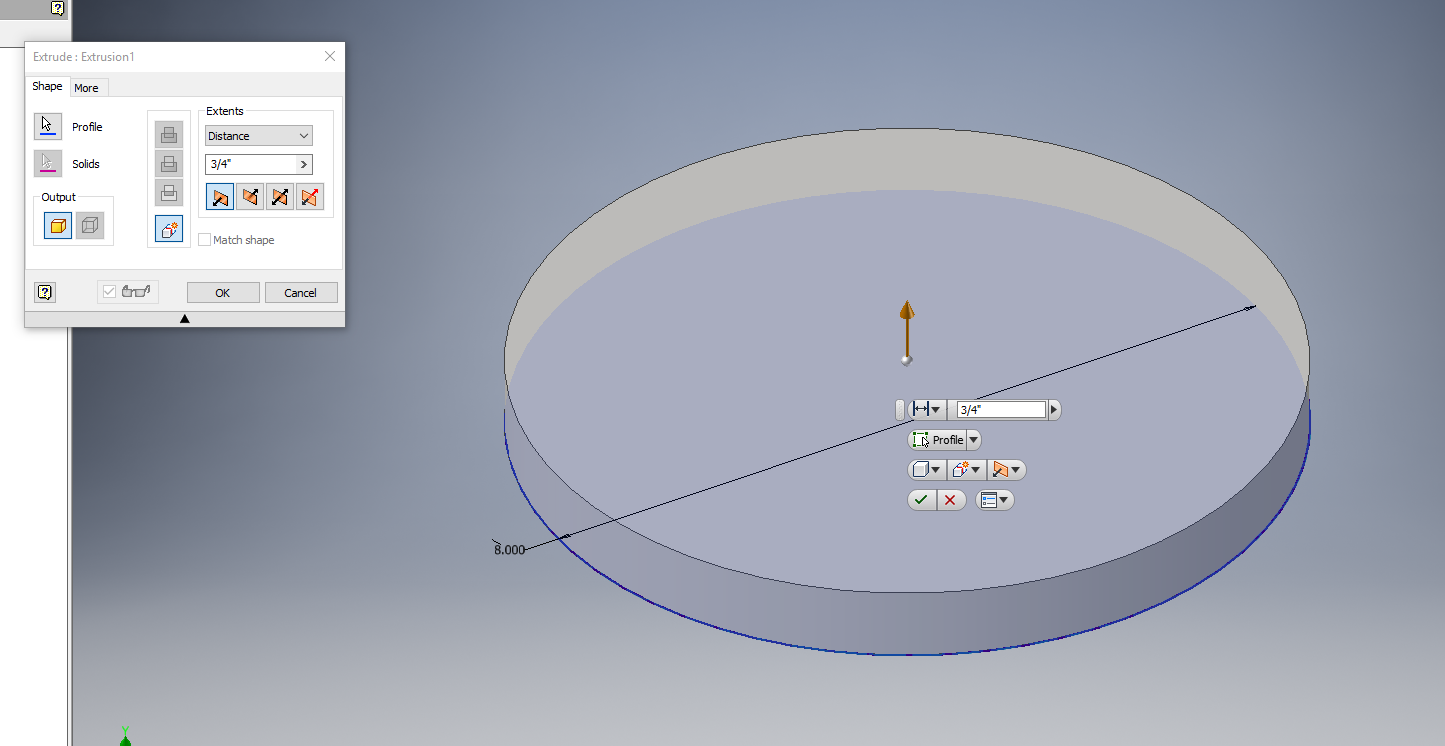
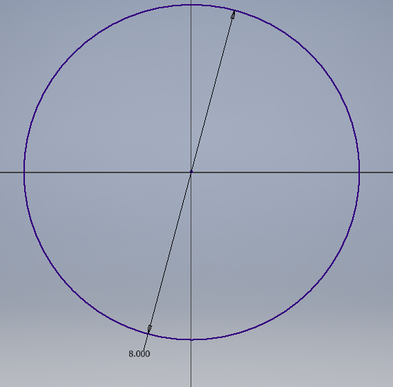
To start, I created a circle with a diameter of 8 inches and extruded it .75 inches.
|
|
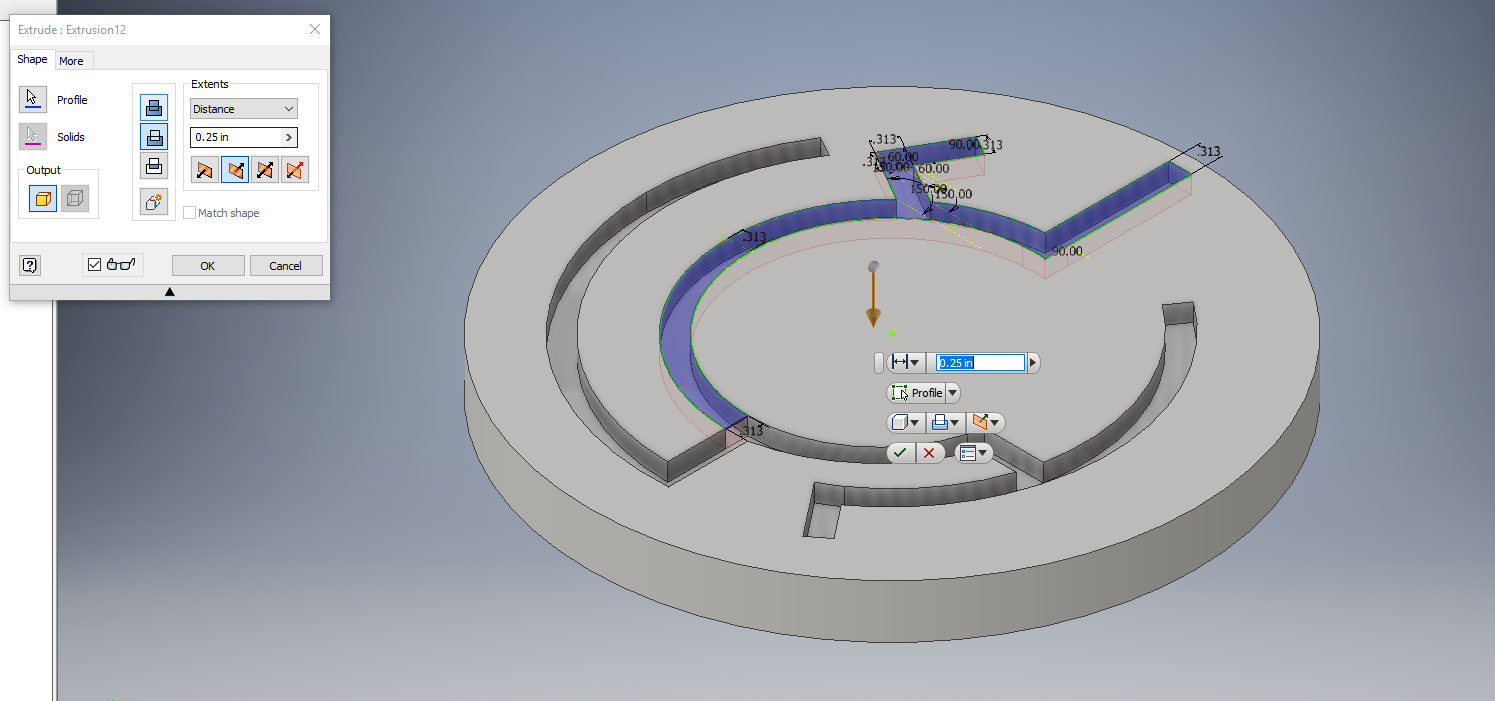
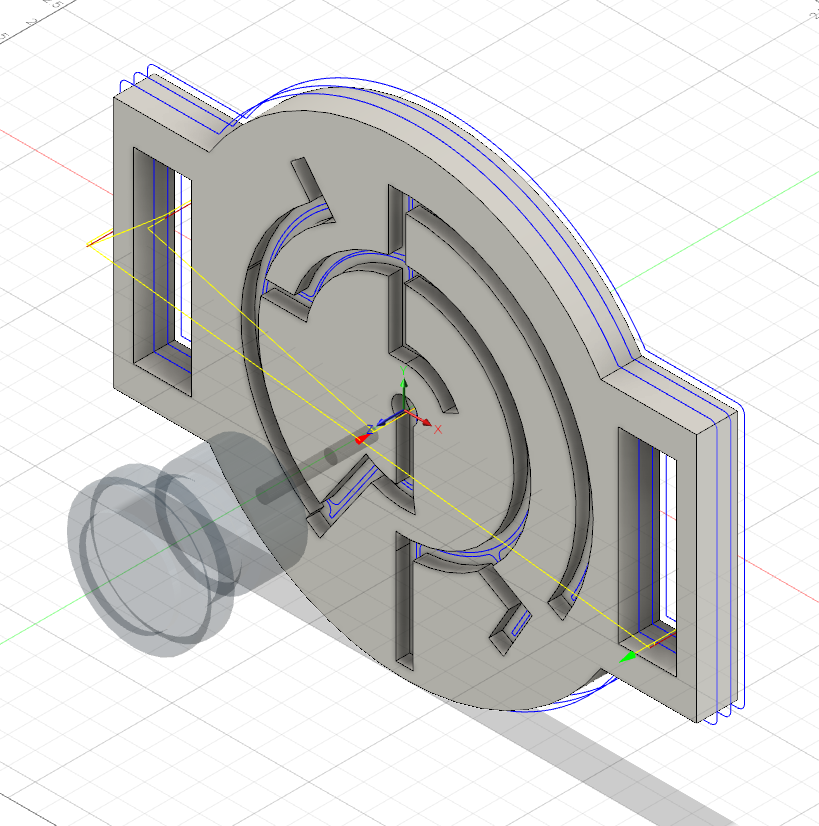
Next, I used multiple sketches to create the .25 deep maze channels.
|

|
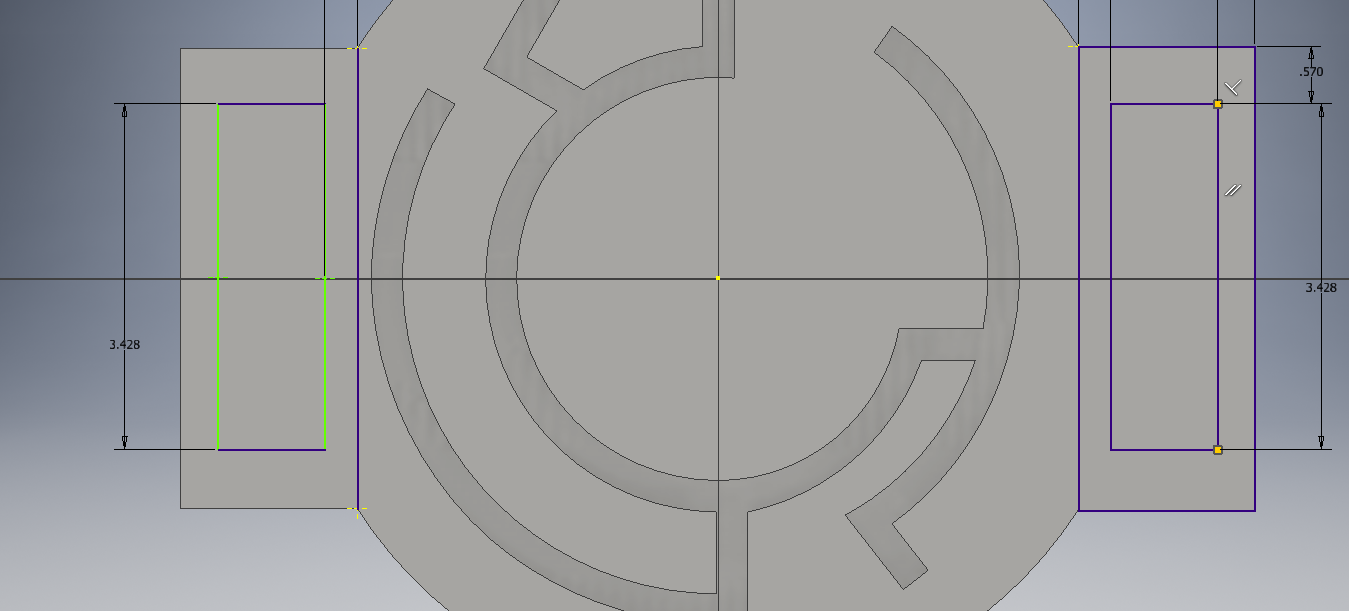
Finally, I added handles to my maze.
|
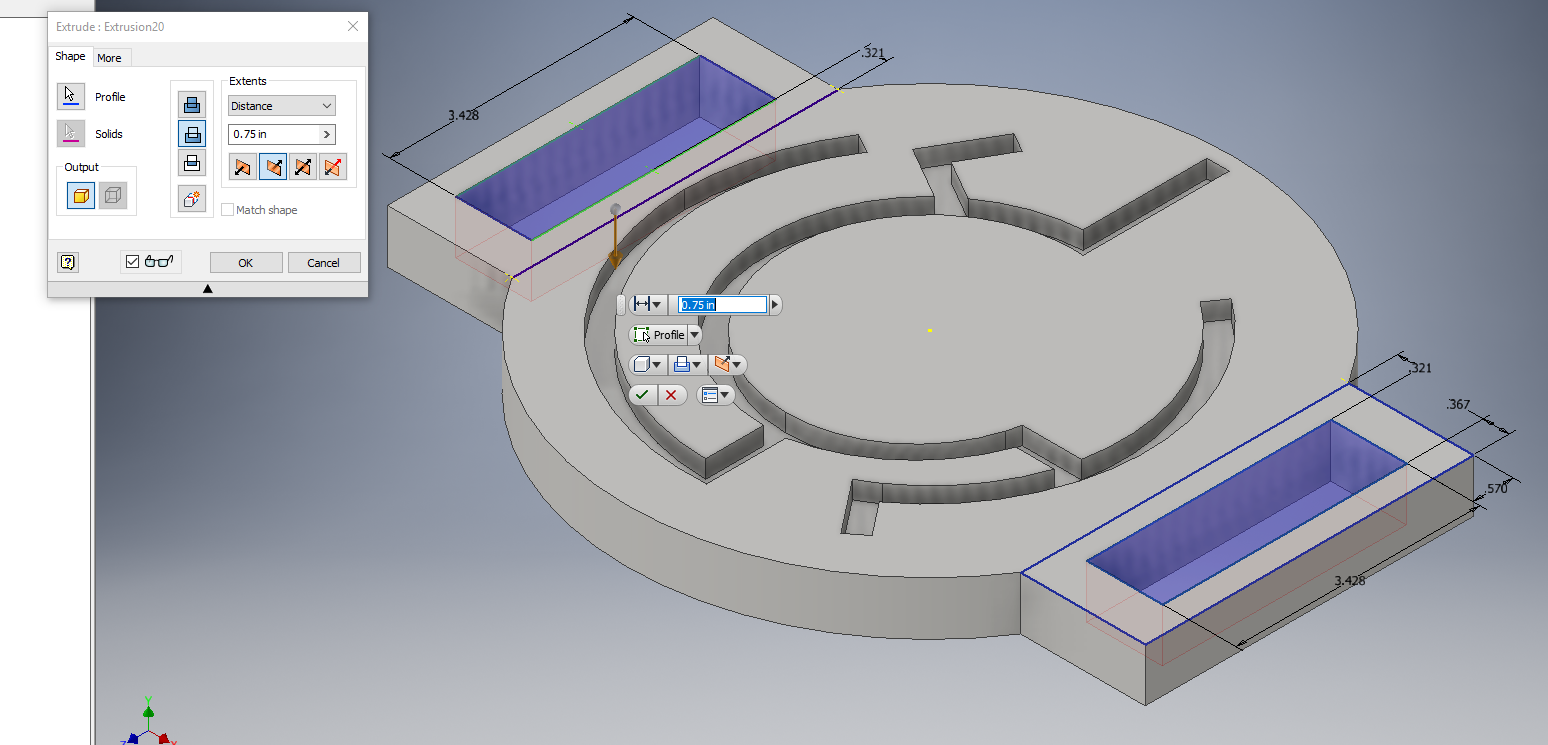
|
Then, I had to set up my maze in Fusion 360. In Fusion, I used 2-D contours to set up my tool-paths and simulated the project to ensure that it would rout correctly. I had to re-edit my maze several times to make my channels big enough, but I eventually got them right and Fusion was able to correctly simulate the maze.
|
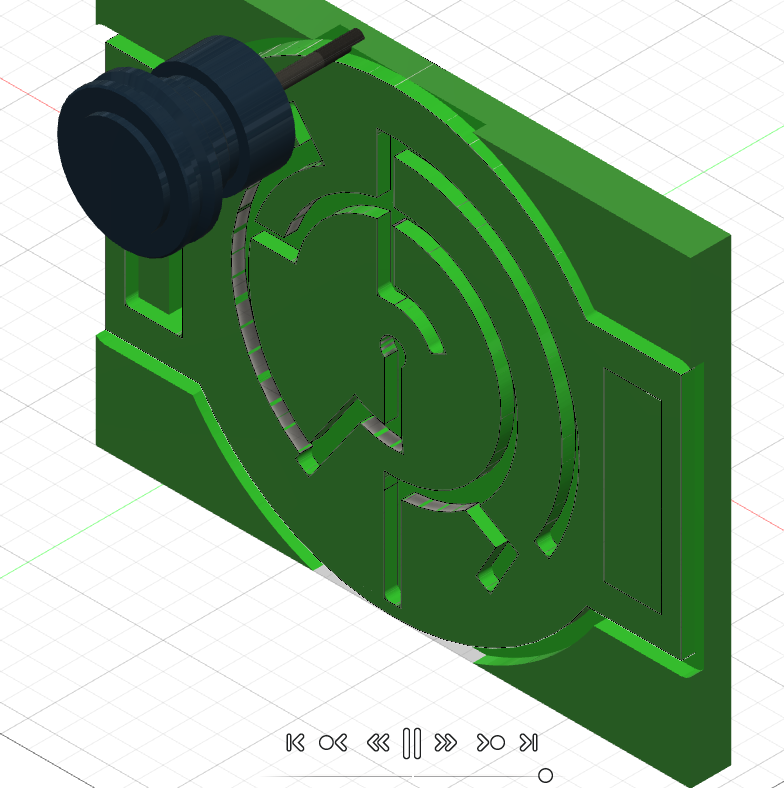
|
Once that was done, I was ready to use the router. I saved the maze as a g-code and uploaded it to the router.
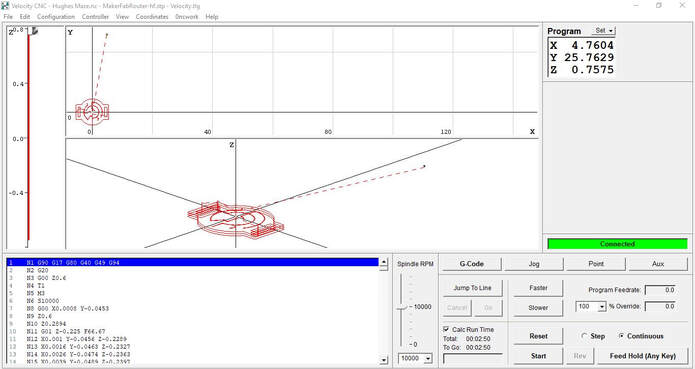
I then jogged the bit so it was lined up with the center of my maze.
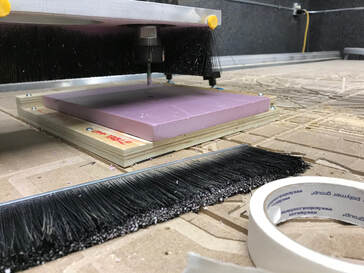
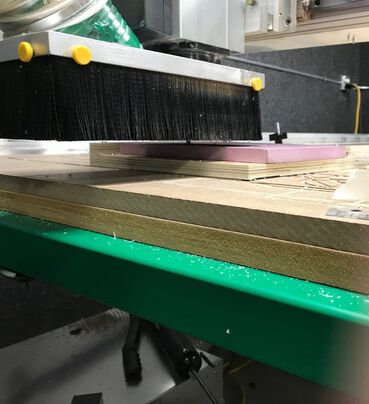
I was then ready to rout my maze. I started the router and let it cut out my maze..
|
|
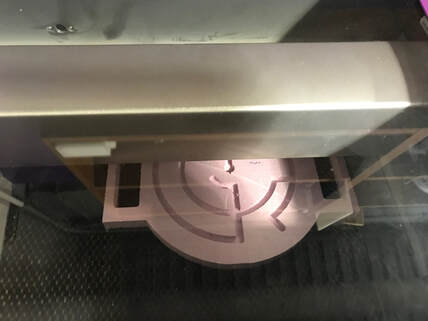
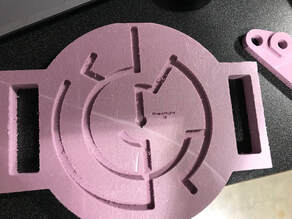
With that done, all I had to do was laser engrave my name on the foam.
Finished maze.
Conclusion
In this rotation, I learned how to use Fusion 360 for more 2-D projects. I learned how to use 2-D contours to create the maze. I also learned how to use the CNC router. Finally, I learned to always double check my dimensions.
