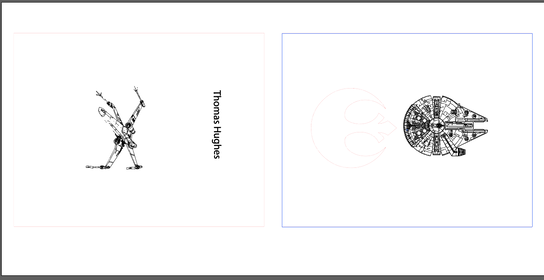
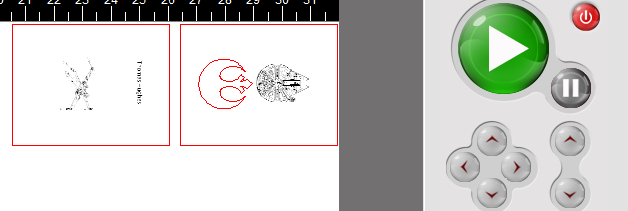
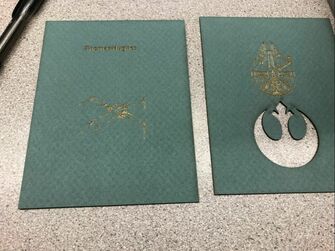
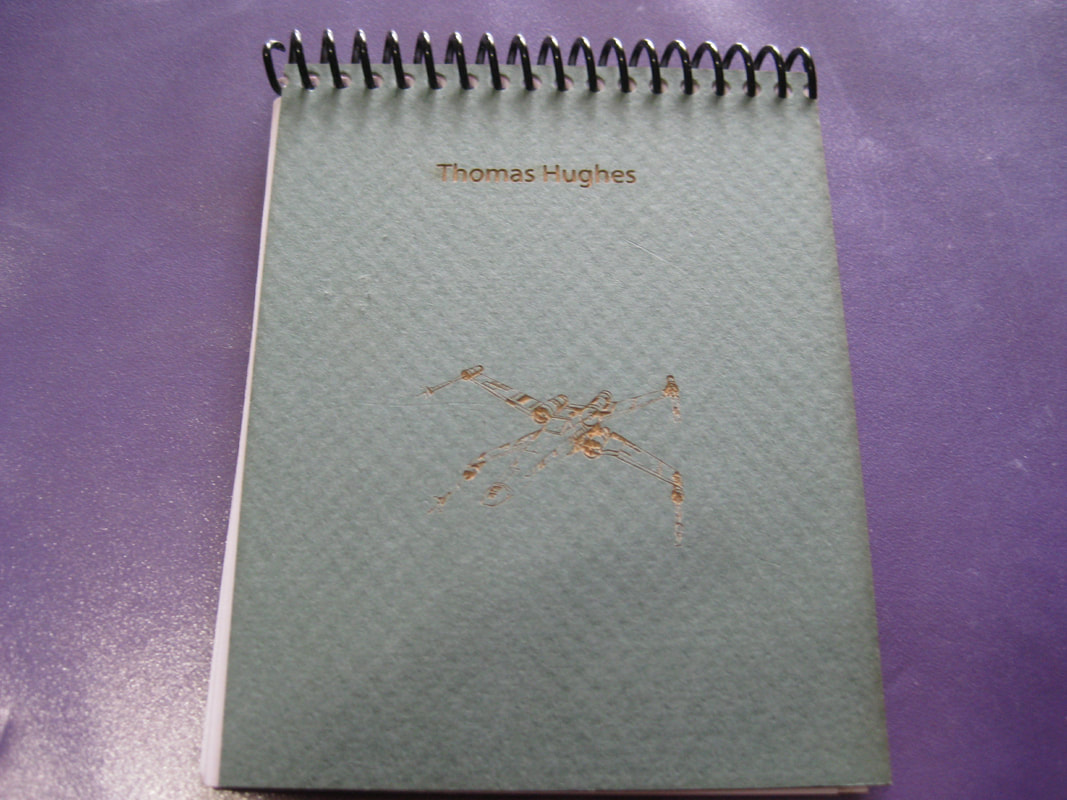
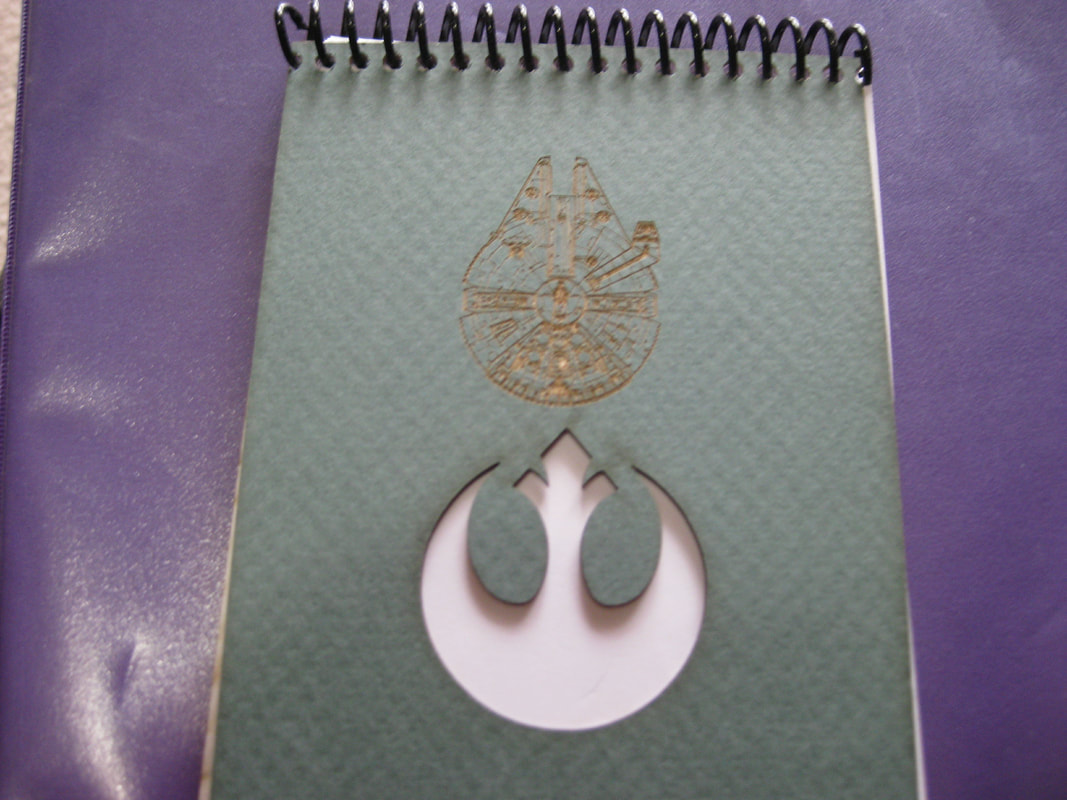
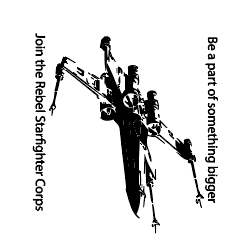
The laser rotation consisted of three different projects: a notebook, a water bottle, and a 3-D cutout. Before I could begin creating the projects, I first had to plan and design each project. For each project, I decided I wanted to continue with a Star Wars theme in each one. For the notebook, I immediately decided to engrave my name on it, so it wouldn't get lost. I chose to cut out the symbol of the Rebel Alliance on the back of the notepad. I then decided to engrave an X-Wing on the front, and the Millennium Falcon on the back. I chose these two ships because they are very iconic and well known in the Star Wars universe. For the water bottle, I again decided to go with a Rebel theme. I chose to put an X-Wing in the middle. For the text, I decided to go with phrases that would inspire people to join the Rebellion and the fight against the Empire. Finally, I had to choose a project for the 3-D cutout. I wanted to go with a Rebel ship, but there were many to choose from, including an X-Wing, B-Wing, T-47 airspeeder, Y-Wing, and an A-wing. I eventually decided to create an RZ-1 class A-Wing snubfighter. I thought that it was a relatively simple build (compared to the X-Wing and T-47 snow-speeder), but it also wasn't too simple (like the Y-Wing).

Notebook
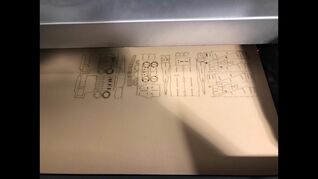
The notebook was the easiest project of the three. My main problem was finding an image that would work for the notebook. The first images I found of the Falcon didn't show up very well, so I had to use a top view of the ship. I also had to rotate my images so they would be engraved in the right direction.
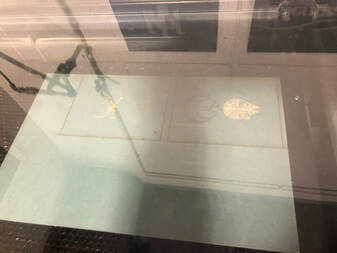
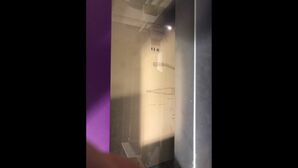
After finishing this, I was ready to engrave my notebook. I opened the file in Illustrator, and then sent it to the UCP software. Once it was set up, I started up the laser.
|
|
|
Once I had cut out the covers, I had to punch holes in the top so I could fit the paper and spring connector in.
Finished notepad
Finished notepad
|
|
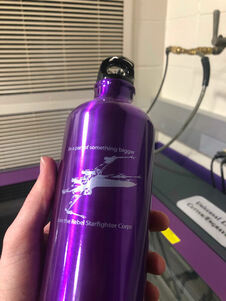
Water Bottle
For the water bottle, I had to first find an image of an X-Wing. I wanted to use a different image from the one I had used for my notepad. I found and image very quickly, and I copied it to Illustrator. I then put in the text, grouped the image together, and rotated it 270 degrees.
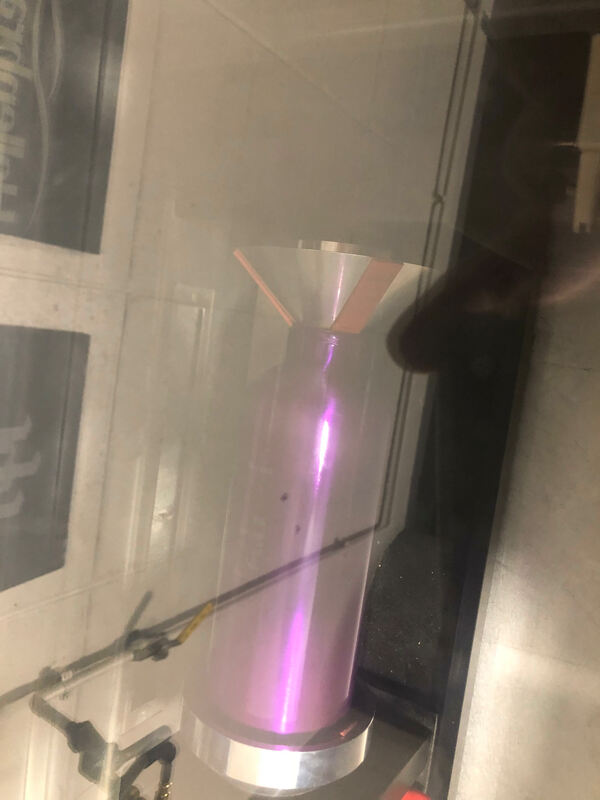
I then proceeded to save the file to my flash drive and head to the laser. Since I had to use a rotary jig to engrave the bottle, I had to change the settings to accommodate the jig.

I then set up the file in the UCP and began printing.

|
|
Finished water bottle.
3-D cutout
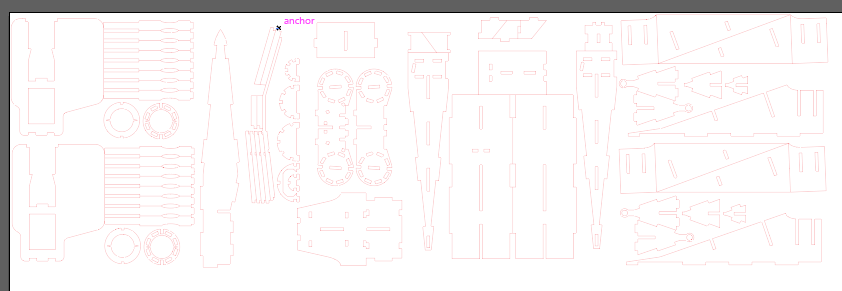
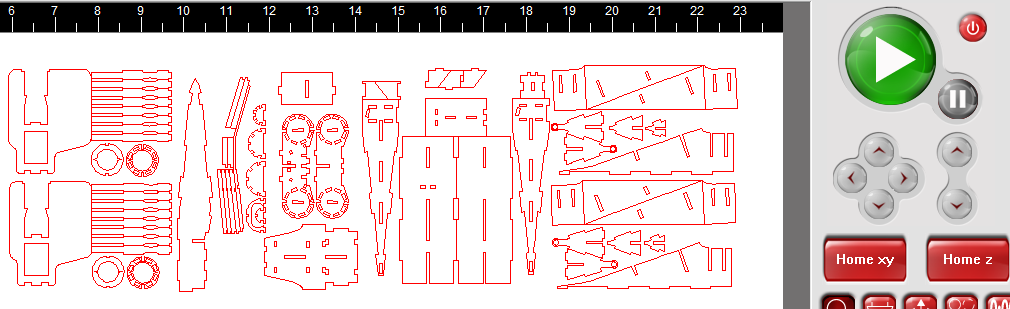
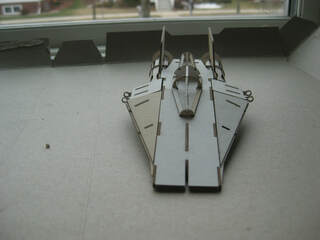
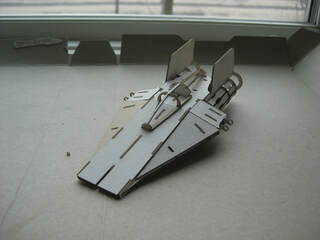
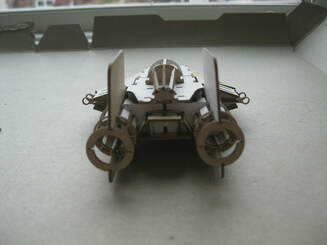
To start the A-Wing, I first had to download all the files from Thingiverse and save them to my drive. I then had to open the files in Illustrator, and convert them to RGB color. I changed to stroke color to red so the parts would cut out, and changed the stroke width to .0001". I then had to resize the file so it would fit on the mat board, and so the pieces would fit together.
Once that was finished, I was ready to use the laser. I saved the file to my flash drive, and plugged the flash drive into the laser computer. I opened up the file, and sent it to the UCP software.
Once the print file was in the UCP, I aligned the file with the upper right corner of the mat board. Next, I began printing.
|
|
|
I then had to begin assembling the A-Wing. After initially trying to assemble the starfighter without glue, I realized that I couldn't assemble it that way. I finished building the ship by gluing the pieces together, and it came out very nicely.
|
|

|
|
Conclusion
This rotation that if a project fails at first, I should try something else to fix it. For example, with the A-Wing, I had to change my way of building it to finish it. The rotation also showed me that I need to be very careful with my measurements to make sure my end product will work. Finally, it taught me to choose my designs very carefully.
