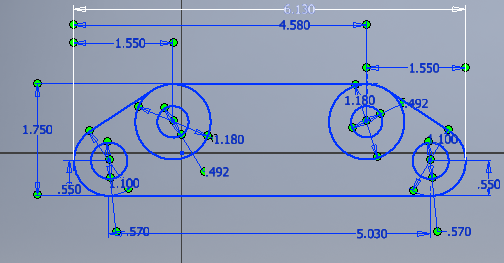
For the CNC mill project, I had to create a pre-designed brake bracket in Inventor, upload it to Fusion 360, and then cut it out with the mill. To start the project, I first drew out the shape of the bracket in Inventor.
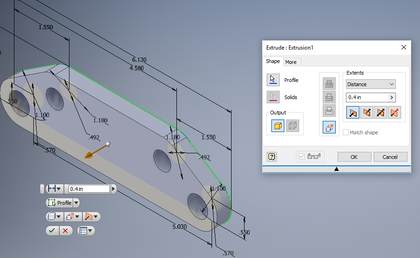
I then extruded the sketch, excluding the holes, by 0.4 inches.
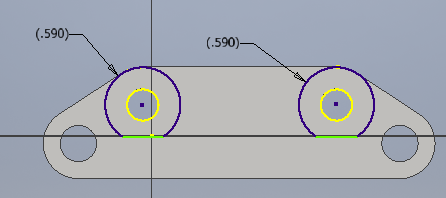
To finish the bracket, I had to create the extended part of the upper holes. I created a sketch on the front plane and drew out the circles.
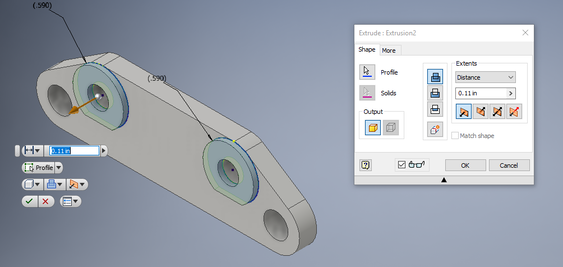
Finally, I extruded the circles by .11 inches.
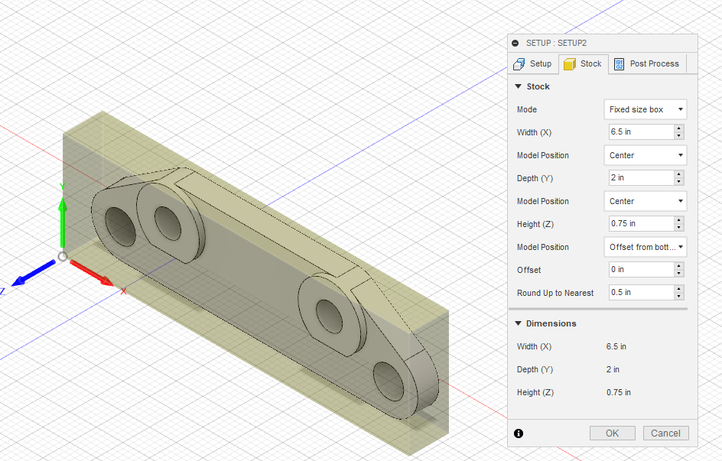
Next, I had to set up the bracket in Fusion 360. I uploaded the file to Fusion, and set up the stock in it.
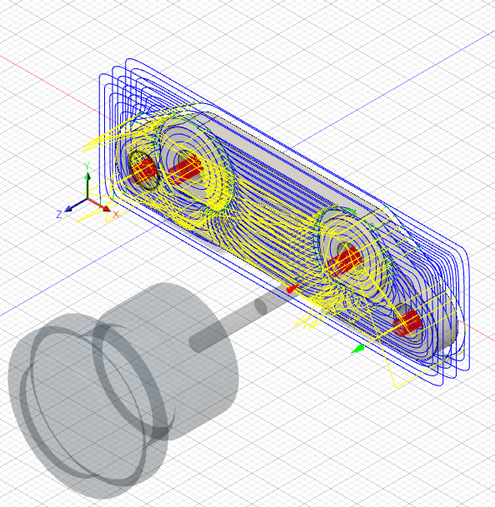
Then, I had to create my tool-paths. Using 3-D Adaptive Clearing, I set up the drill bit size and the paths the machine would take.
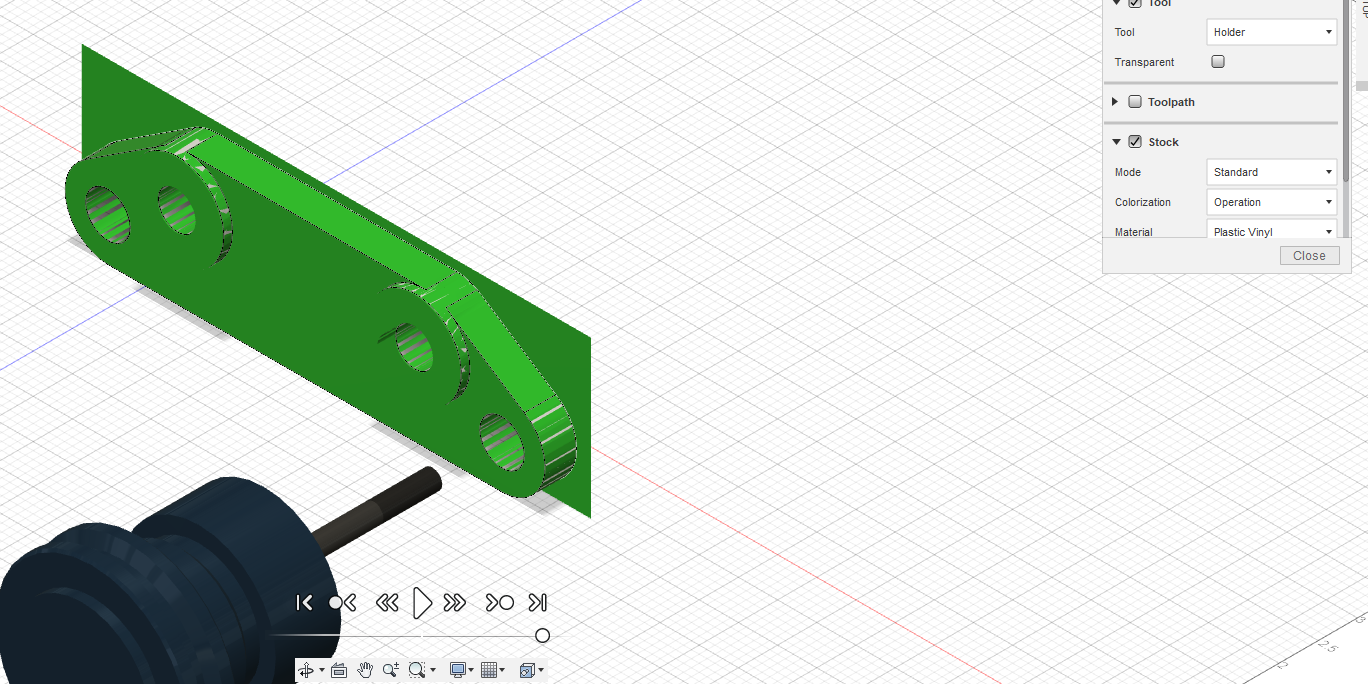
Finally, I simulated the project to make sure that the mill would cut out the bracket correctly.

|
|
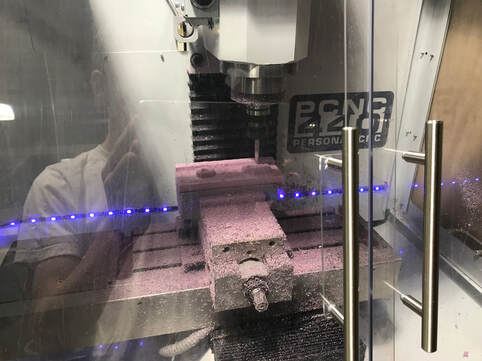
Then, I was ready to use the mill. I loaded my Fusion file as a G-code to my flash drive so it would be compatible with the mill program. I plugged my flash drive in and uploaded my bracket into the mill software. I had to move the mill bit to be in the bottom left hand corner of my stock. Once that was done, I zeroed my X, Y, and Z coordinates.
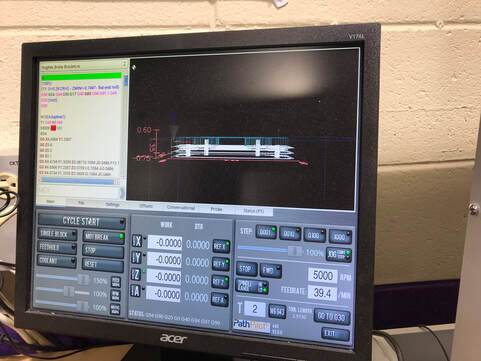
Once that was done, I started the mill. After two failed attempts (one where the tape broke off and another when the machine when berserk), I was able to get the mill to work.
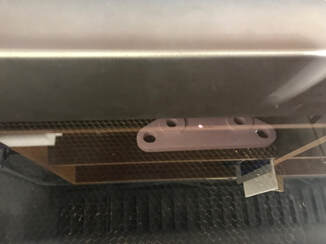
Even after milling out the bracket, I still wasn't done. To finish the project, I had to laser engrave my name and hour on my bracket. Having used the laser many times, this part was very easy. I simply had to type my name in Illustrator and upload it to the laser.
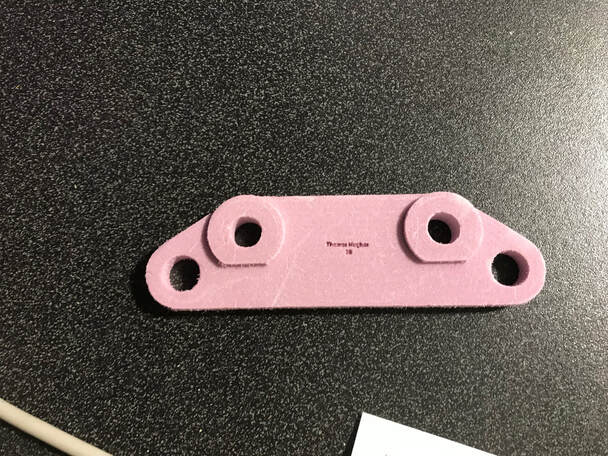
Finished bracket.
Conclusion
In this rotation, I learned how to use Fusion 360. Since it was a new program, it took me a while to learn it, but after a while, I found that it was easy to use. I learned how to use 3-D adaptive clearing to set up projects for the mill. I also learned how to use the CNC Mill. Although it took me a couple of tries, I was able to figure out how to mill my projects with it.
