What is Illustrator?
Illustrator is a computer software that allows users to design a variety of different objects. It allows users to import pictures, type in words, a shape designs. Illustrator files are compatible with laser engravers and vinyl cutters. It allows for people to use their creativity to design logos, key-chains, and other designs.
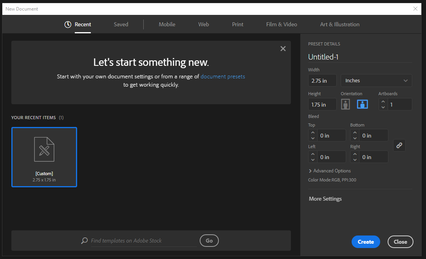
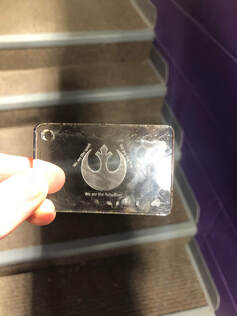
The first project I used Illustrator for was to design a key-chain. To begin, I created a new file on Illustrator, and set the dimensions to be 2.75 x 1.75 in.
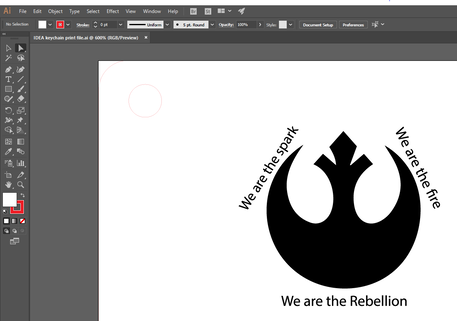
Then, I had to decide what my design would be. Since I am a Star Wars nerd, I decided to use the symbol of the Rebel Alliance.
My key-chain design.
My key-chain design.
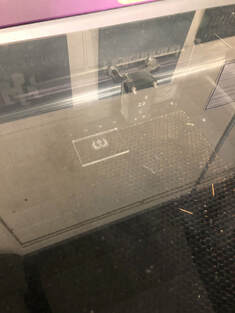
Once I had finished my design, I saved the file to my H-Drive so I could print it off the laser. To use the laser, I first had to turn on the exhaust fan to make sure the laser didn't break. Then, I opened up Illustrator and selected the print option.
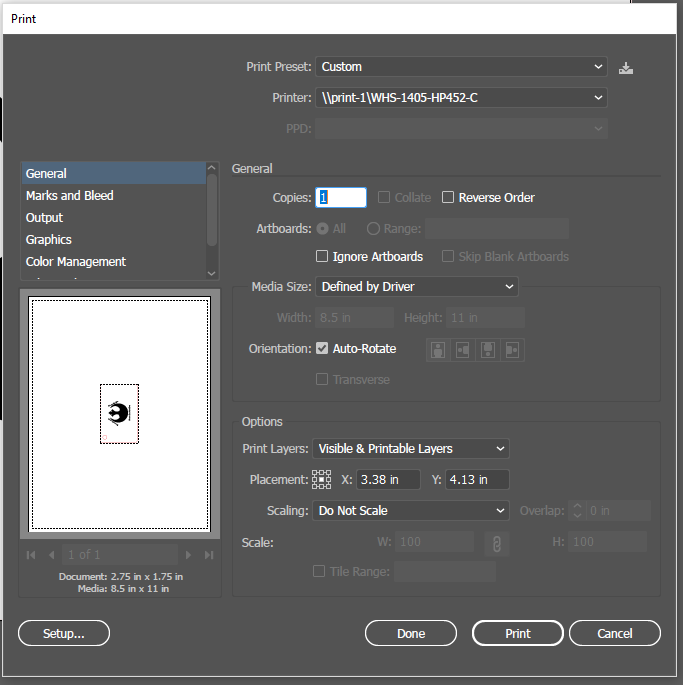
After I set all the print settings correctly, I opened up the UCP laser printing software. I placed my acrylic plastic piece in the laser so the upper right corner aligned with the 27" mark. In the printer screen, I relocated the key-chain image so the upper right corner also matched up with the 27" mark. I then moved the laser to each of the corners to ensure that the key-chain would print on the acrylic. Then, my key-chain was ready to print.
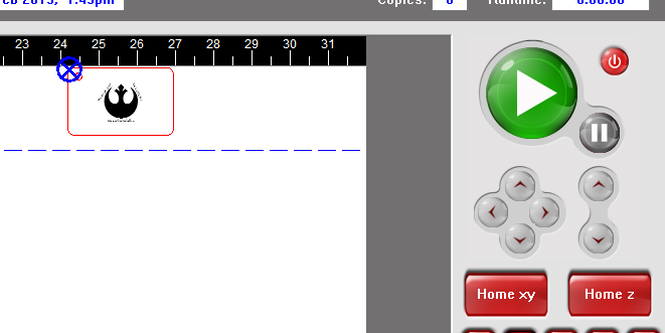
I closed the laser, and pressed the green button to begin printing.
|
|
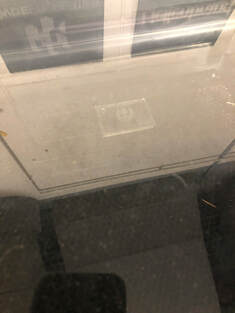
Finished key-chain.
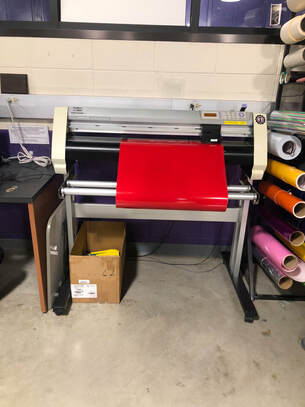
Vinyl
The vinyl cutter lets users create decals that they can put on objects. It is compatible with Illustrator, and people can design their decals on Illustrator before printing them.
The first project I had with the vinyl cutter was to make my name into a decal to put on my designer notebook. Mrs. Proctor showed the class how to correctly load the vinyl cutter. To make sure it cuts correctly, the wheels must be lifted to load the vinyl into the machine.
Then, everyone in the class typed their name in an Illustrator file.
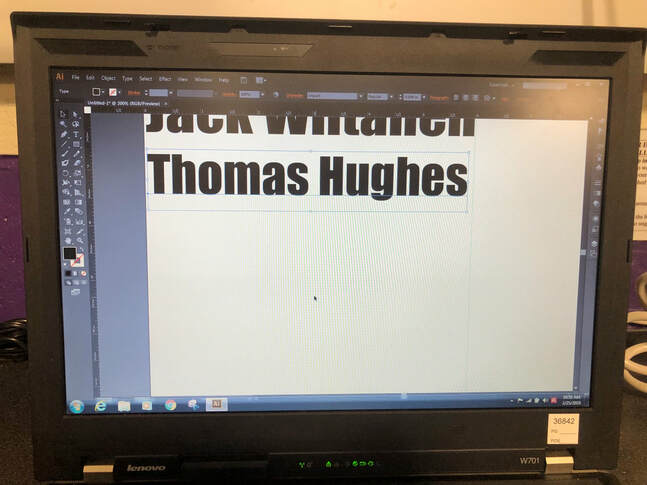
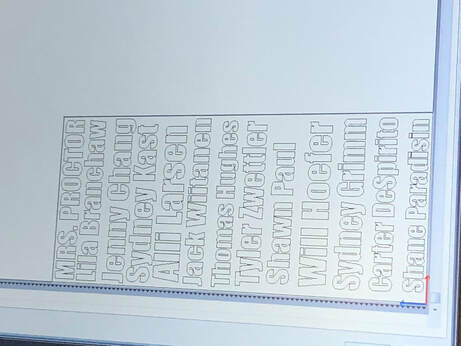
Next, we set up the decal print on the computer. To maximize the vinyl, we put the names sideways, and in the left hand corner.
Once the vinyl cutter was done, I took my name and prepared to transfer the decal to my notebook.
First, I peeled of the outline of the decal, so I could clearly see my name. I then use the dental tool to remove the excess vinyl that was stuck in some of the letters.
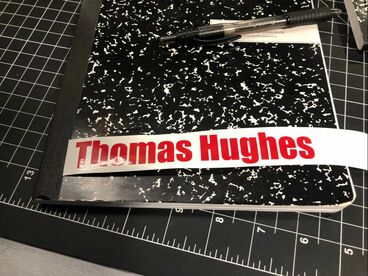
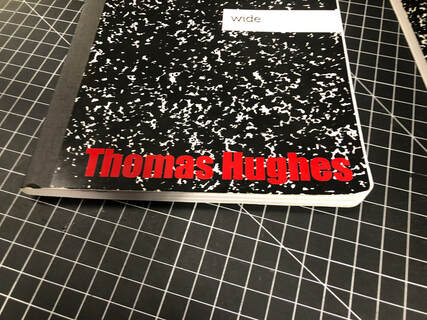
Next, I put transfer tape over the decal so I could precisely move it to my notebook. I had to use a firm object to press the tape onto the decal. I then peeled the tape off, and the letters with it, and place the tape on the bottom of my notebook. I firmly pressed the tape to make sure the decal would stick. Finally, I peeled the tape off, and my decal was perfectly on my notebook.
Conclusion
One thing I learned from these projects was how to use Illustrator. I learned how I can use it for the laser engraver and the vinyl cutter. I learned how to calibrate the laser to ensure that it will correctly print my designs. Finally, I learned how to create decals and how to transfer them to the surface I want them on.
