This is where the fun begins! - Anakin Skywalker
Design and Research
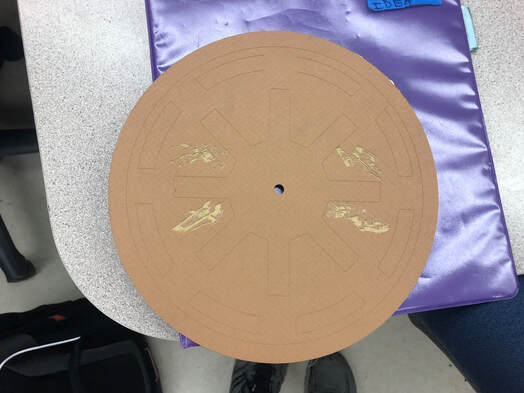
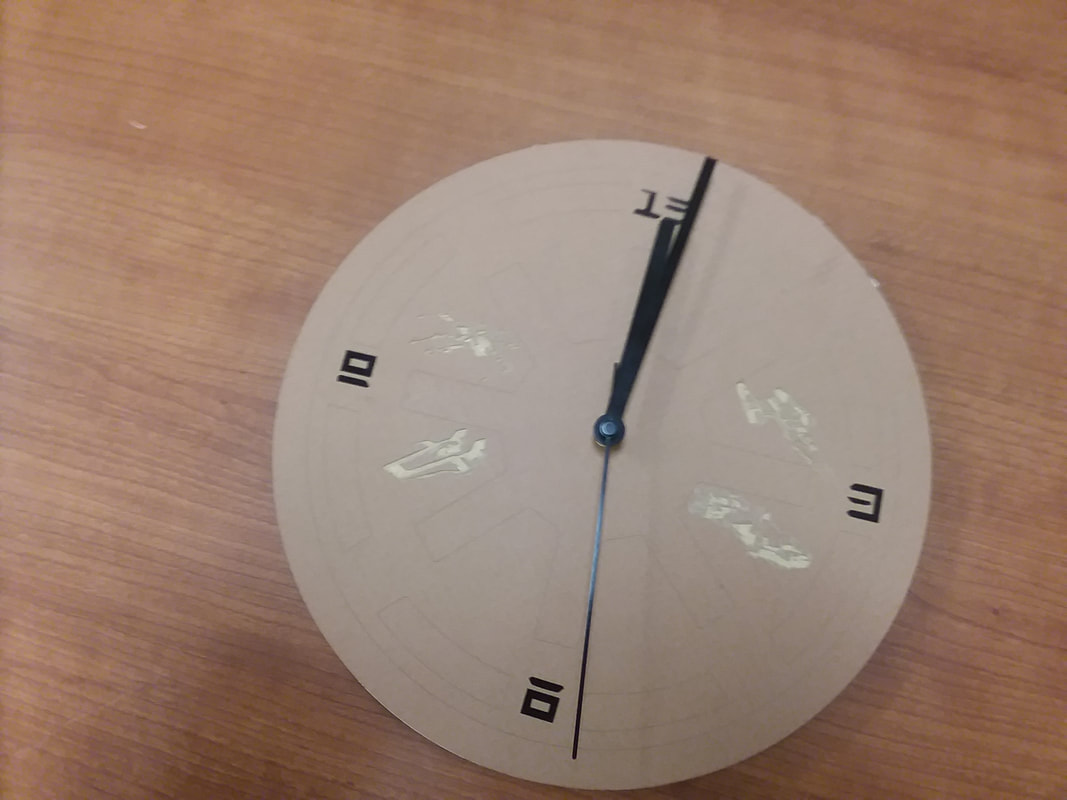
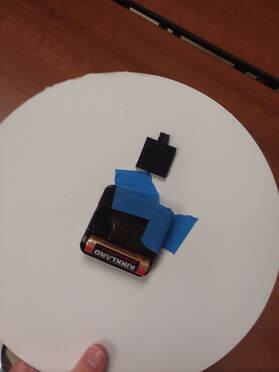
For the final project, I had to design and create my own clock using at least 3 machines in the lab. I was given a gearbox, but I had to design the rest of the clock. I decided to make my clock 10 x 10 inches. I wanted to continue with the Star Wars theme that has been prevalent throughout most of my projects. To do this, I used the laser engraver for my clock face. On the face, I engrave the symbol of the Republic, an X-Wing, an RZ-2 A-Wing, a BTL-A4 Y-Wing, and a CR90 corvette. I also laser engraved clock hands. To use another machine, I decided to use the vinyl cutter to make my numbers in Aurebesh. For the last machine, I 3-D printed a holder for the clock.
Clock face
To start the clock face, I used Adobe Illustrator to design it. I made a 10 x 10 inch art-board, and found an image of the Republic symbol to put in. I made the symbol 10 x 10 as well, and created another circle with a red outline so the clock would cut out. I put a smaller circle (about .2975 inches) in the center so the clock face would fit on the gearbox. To save time, I only would engrave the outline of the symbol.
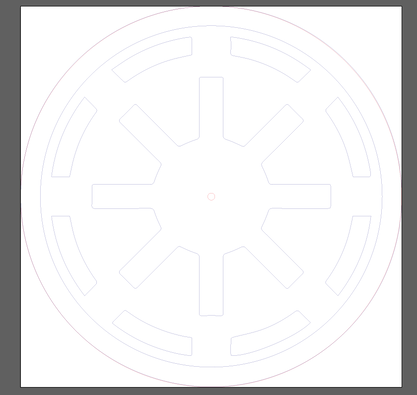
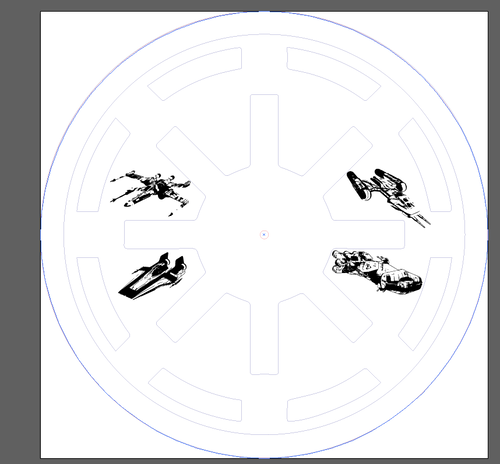
Then, I added the ships to the face in between the spokes of the inner wheel.
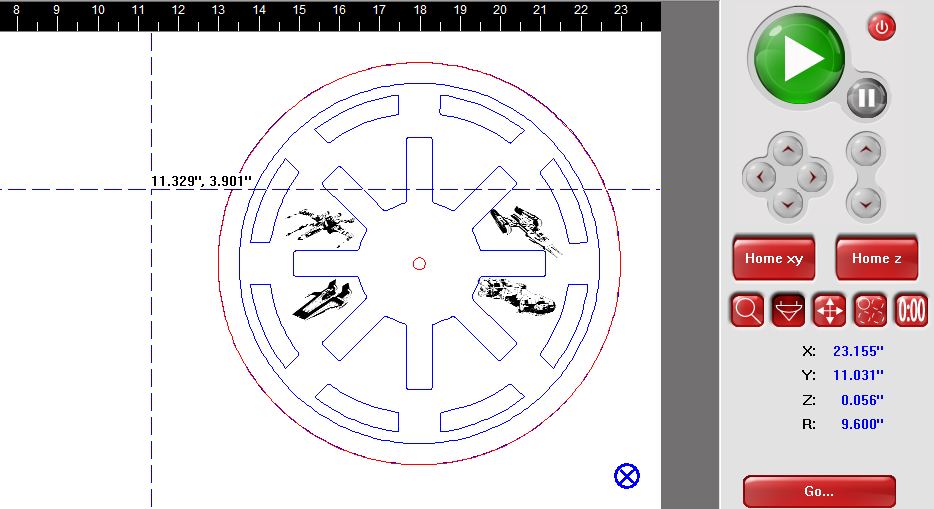
Once that was done, I was ready to use the laser for the clock face. I uploaded my file to the UCP software and began the engraving process.
|
|
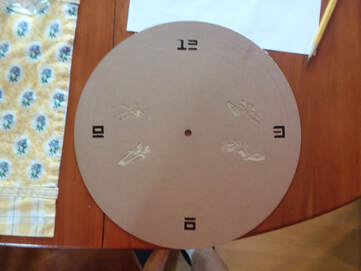
Finished clock face.
Numbers
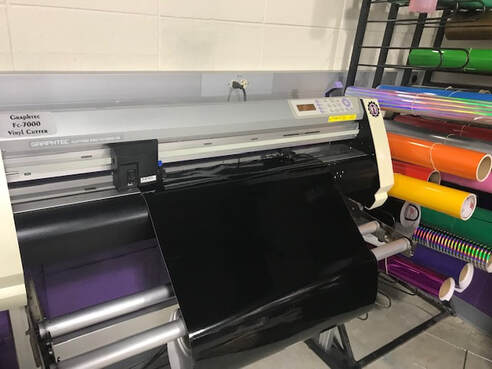
For my numbers, I decided to use the vinyl cutter. I set up the Aurebesh numbers in Illustrator.
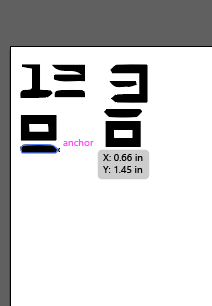
This didn't take me too long, and I was quickly ready to use the vinyl cutter.
Numbers applied to clock.
Clock holder
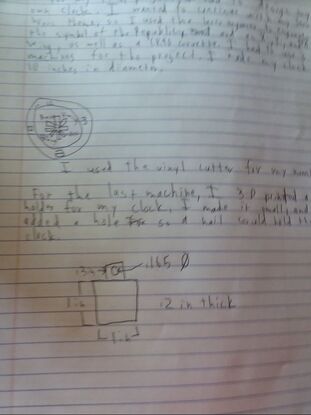
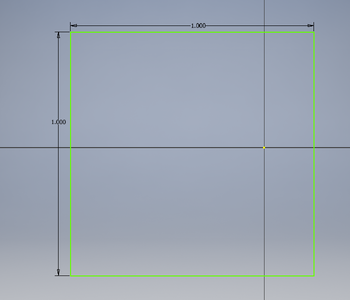
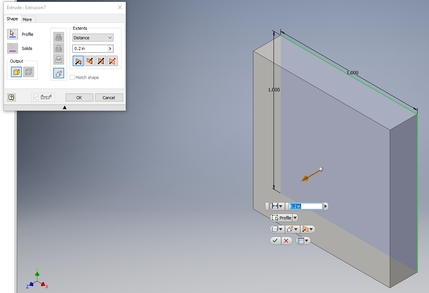
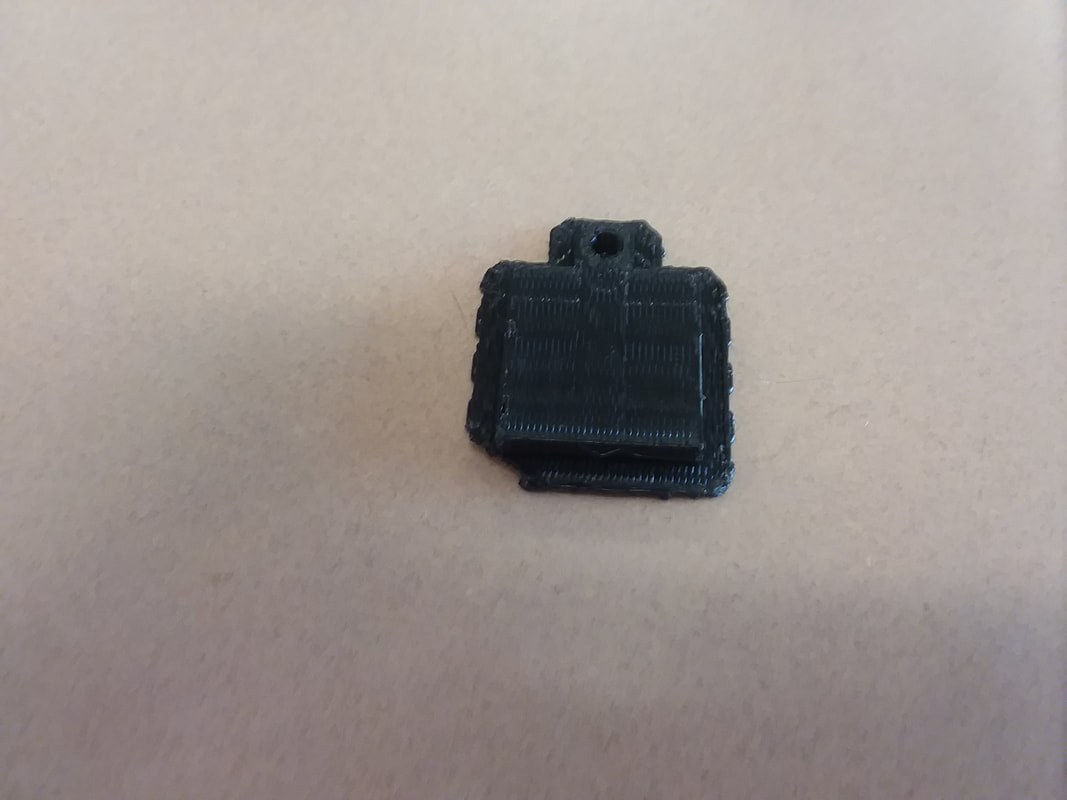
For the third machine I needed to use, I 3-D printed a holder for my clock. To start, I made a 1 x 1 inch square and extruded it by .2 inches.
|
|
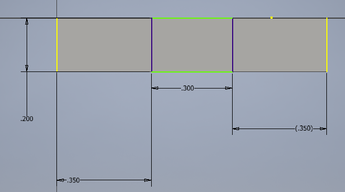
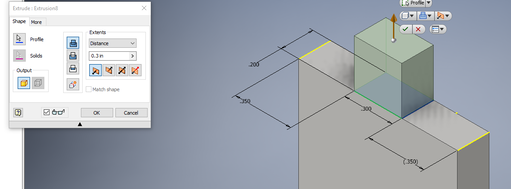
Then, I sketched a .3 x .2 inch square on the top of the block. I extruded it by .3 inches.
|
|
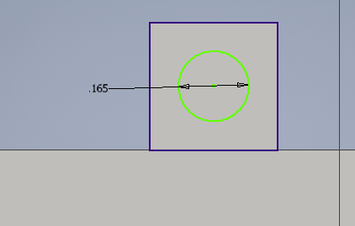
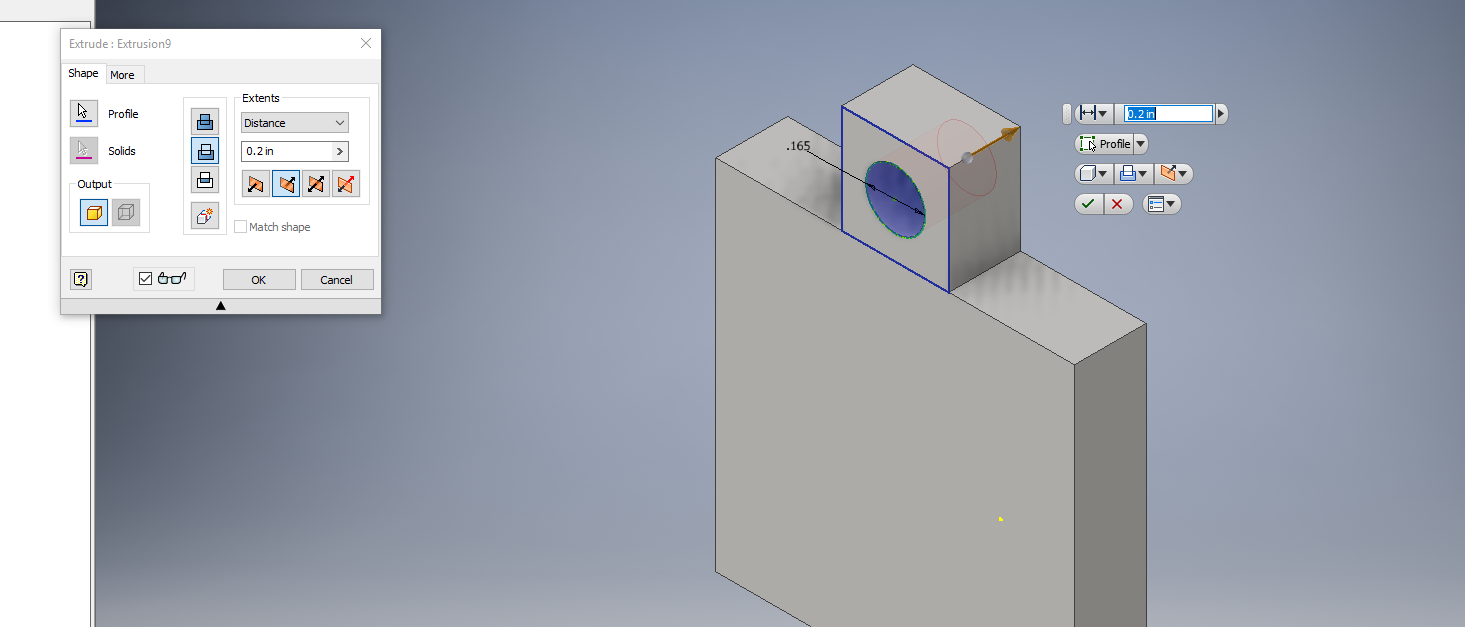
Finally, I drew a .165 diameter circle on the second block so the clock could be held on a wall.
|
|
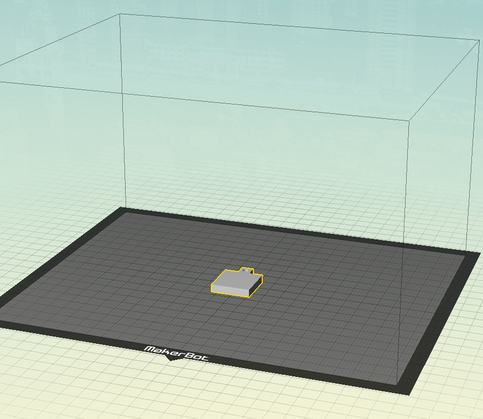
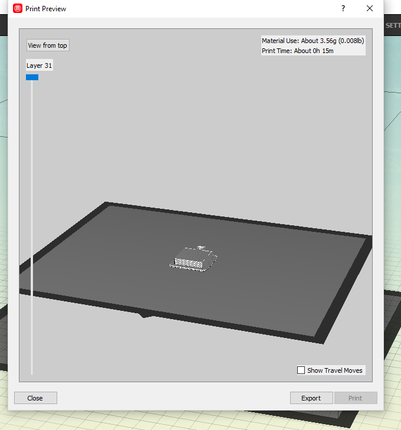
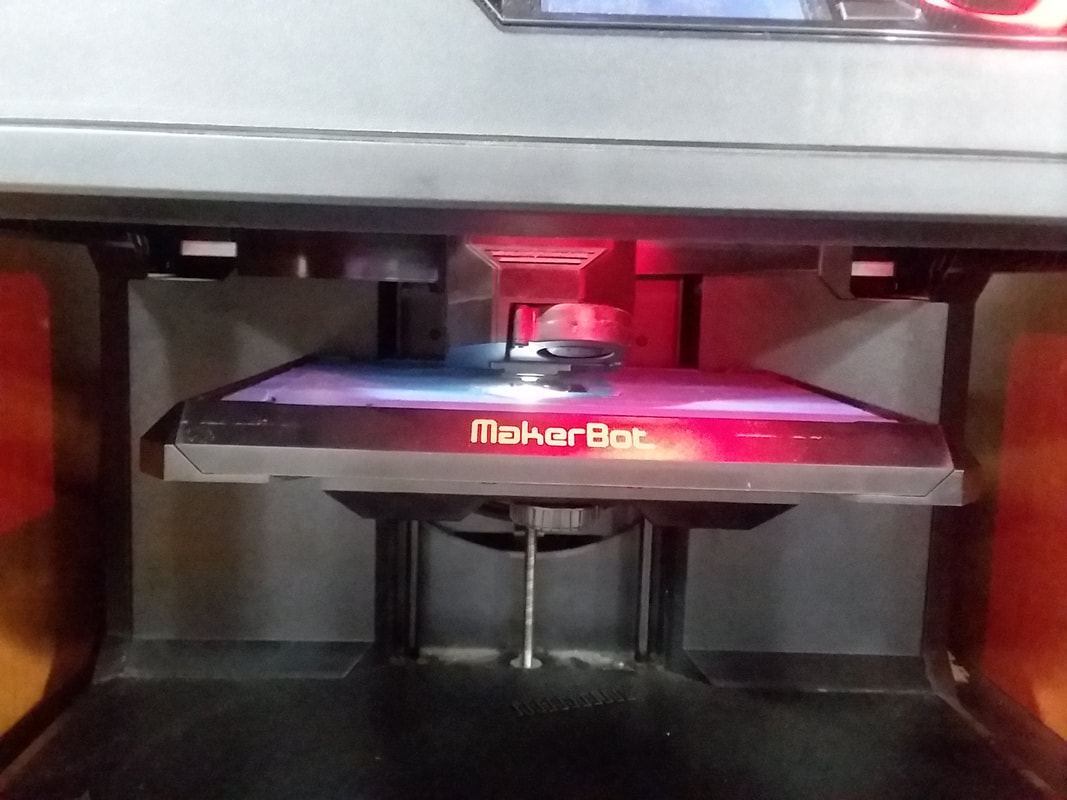
I uploaded the file to Makerbot so I could 3-D print it.
|
|
Once it was set up, I saved it to my flash drive and began printing.
|
|
Finally, I had to completely assemble the clock (shown below).
|
|
Conclusion
With my final project, I learned how to use all the resources I had available to create something. I also learned how to quickly adapt to unforeseen contingencies. For example, I had to scale down my clock holder in order to have time to do it. I learned that it can be necessary to scrap ideas. This was apparent as I wasn't able to laser engrave my own hands, as I ran out to time. Finally, I reinforced my knowledge on how to use the machines in the Innovation Center.
